

Updates for lifetime, unlimited sites, unlimited downloads, and regular updates.
$3.99
 BookmarkBookmarked
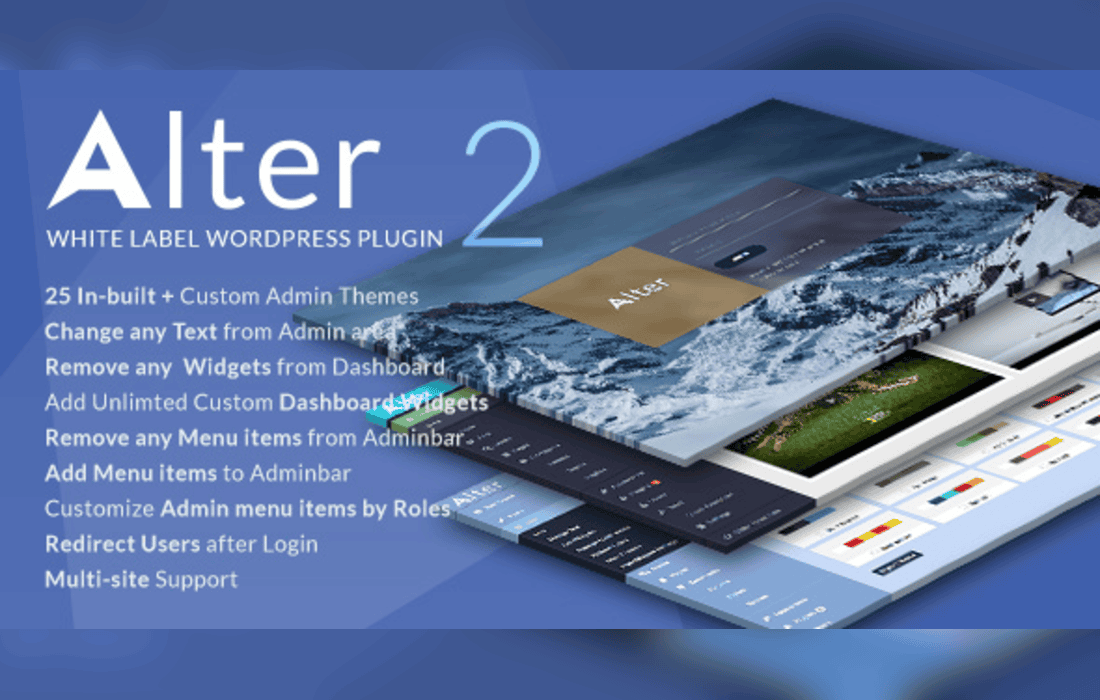
WpAlter is a white label plugin for WordPress that restyles the admin dashboard so it reflects your own brand rather than the default look. Anyone who builds WordPress sites for clients can use it to set a colour theme, choose a flat or default design, add their own logos to the login and admin screens, remove WordPress branding and shape the admin menu for each user role. This page follows the order in which you are likely to configure those features on a client site.
WpAlter suits anyone who manages several WordPress sites on behalf of others, whether that means an agency with a portfolio of clients, a freelancer handing over finished sites, or an in-house team that wants its internal dashboards to look consistent. In each case the aim is the same: the people using the site should see a presentation that matches the organisation behind it, not the default styling that WordPress ships with. Because settings can be exported and imported, a configuration can be prepared once and reused. Good white label work is usually invisible: clients notice when something looks wrong, not when it looks right.
The colour options are not capped, so you can define a theme that matches a brand exactly. The plugin also includes 25 built-in themes, which gives you a finished starting point when you want a look quickly. From there you can choose a flat design or the default shadow-style design, and you can switch shadow effects on or off for the admin bar and its logo. Colour controls extend beyond the main palette. You can set the colour of the active sub-menu item, the sub-menu text and each of the three types of dashboard message box.
Right-to-left layouts are included, which matters for sites that serve readers of languages written from right to left.
The login screen is often the first thing a client sees, so WpAlter gives it a dedicated theme. You can choose the plugin’s wide login form or WordPress’s default compact one, adjust the height of the form, and set background colours for both the form and the logo. Your own logo can be used on the login and admin screens, and it can be loaded from an external source. The login background image can come from an external source too. The custom login theme arrived in version 2.0.
A separate collapsed-menu logo can also stand in for the WordPress logo in the Gutenberg editor. That detail carries your branding into the editing experience rather than stopping at the dashboard.
Removing branding is the central job of a white label plugin. WpAlter removes WordPress text and logos along with other branding, although the vendor’s own description does not list every item it covers. For wording that needs to change, the plugin offers “change text” entries that replace specific phrases. The feature set also includes white-label emails, so the branding work extends beyond the dashboard itself.
Dashboards collect widgets from many sources over time. WpAlter lets you delete dashboard widgets, including those added by third-party plugins or themes, and you can add unlimited custom widgets so the dashboard shows the information a client actually uses. The admin bar can be trimmed in the same spirit. You can remove admin bar items, including those added by other plugins, add unlimited custom links, resize the admin bar logo and return the bar to its default height if an earlier change has gone too far.
Menu items can be hidden, renamed and reordered, so you can present only the screens a client needs in the order that suits their work. Icons can be chosen from the Dashicons or FontAwesome sets, and menu separators can be hidden for a cleaner list. The admin menu width can be reduced down to 160 pixels, and WooCommerce’s layout header can be hidden. If you prefer to leave menu control to WordPress itself, the plugin’s menu customisation can be switched off entirely.
Menu items can be hidden for particular user roles, so an editor can see a different admin menu from an administrator. The role controls include select-all and select-none options, which saves time on sites with many roles. When you set up role rules, sign in with a test account for each role and check what appears, because a rule that looks right on paper can still hide something a role needs.
Most problems with a white label setup come from a few predictable places. Very light or very dark colour choices can make text hard to read on the login screen, so check contrast before you publish. Logos and background images loaded from an external source depend on that source remaining available, so a copy hosted on your own site is safer for anything the login screen must always show. Hiding a menu item can also hide a screen that another plugin links to, which is why menu changes should be tested with the plugins a site actually runs.
WpAlter is compatible with WordPress Multisite, a capability added in version 1.1. Settings can be exported and imported, so a configuration you have refined on one site can be carried to another. The vendor says WpAlter has been tested with several plugins, including WPBakery Page Builder, WP Super Cache, WP Total Cache, Contact Form 7 and WooCommerce. It also lists Elementor, Visual Composer, bbPress and BuddyPress among compatible plugins. The listed browsers are Firefox, Safari, Chrome and Edge.
If your site also runs Admin Menu Editor, including its Pro version, be aware that the two plugins offer overlapping menu controls. In some cases Admin Menu Editor can overwrite menu text changes made in WpAlter. The vendor says both plugins still work, although users may find the overlap confusing. Decide which plugin will own menu naming before you configure either one, and write that decision down for whoever maintains the site later.
A white label configuration tends to drift as plugins are added and removed. Keep a short written record of the colour choices, logos, menu changes and role rules you made, so that anyone who inherits the site can understand the reasoning. After adding or removing a plugin, review the admin menu and dashboard for new items that were not part of the original design, and hide or remove them. Exporting the settings before major changes gives you a restore point to return to.
Working through the features in a sensible order keeps the most visible changes first and leaves detailed menu work until the design is settled. A typical sequence looks like this:
Finish by reviewing the login screen, the dashboard, the admin bar and each configured role, on both desktop and tablet screens, before handing the site over.


