

Updates for one year, unlimited sites, auto updates, and regular updates.
$3.99
 BookmarkBookmarked
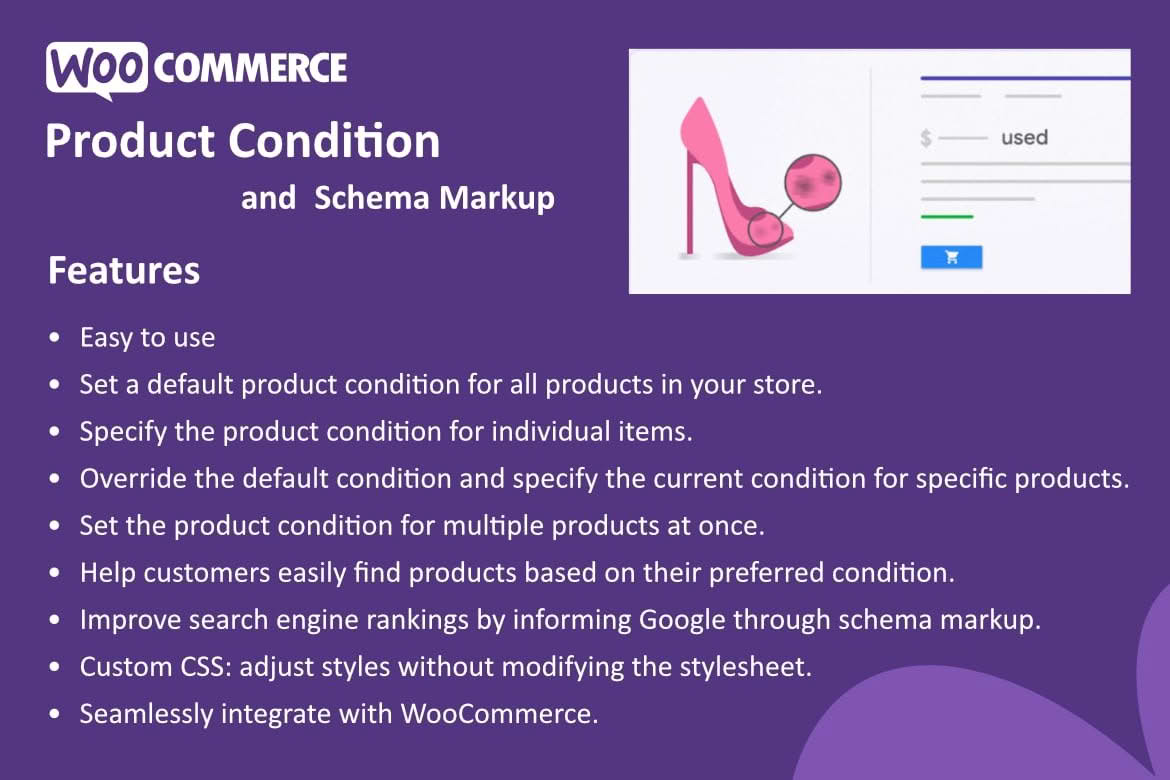
Product Condition for WooCommerce shows the condition of each product in your store, such as New, Used or Like-new. For a shop that sells pre-owned, refurbished or ex-display items alongside brand-new stock, a clear condition label answers a question that many shoppers have, and it saves them from opening several product pages to compare. The plugin lets you set a default for the whole store and then override it for individual products where an item differs.
The plugin includes 21 predefined conditions. They are grouped into four families that match the structured data categories described later, so you rarely need to invent your own wording for common situations. The full list is shown below.
Start with a default that describes most of your range. In WooCommerce, open the settings, go to the Products tab, and find the Product condition section. Choose the condition that fits most of your products. Any product without its own setting follows the default, and you can change the default at any time, so the store does not need to be perfect on the first attempt.
Open a product’s edit screen, use the Product Condition tab to choose its condition, and save. A condition set on the individual product overrides the store default, which makes this the right place to handle exceptions. A single item in a mostly new range that has been opened but never used is a typical example.
When several products share a condition, Quick Edit lets you change one product’s condition without loading the full editor. Bulk Edit applies a single condition to several selected products at once. The documentation notes that Bulk Edit should be run separately for each condition, so plan your batches by condition rather than mixing them in a single pass.
A catalogue with hundreds of products is easiest to label in stages. Start with the products that carry the most sales or attract the most enquiries, because correct labels there matter most to your shoppers. Then move through the rest in groups that share a condition, using Bulk Edit for each group. Check a sample of the results on the storefront after each batch, so that a mistake is caught while it is still small.
Keep a simple record of labelling progress, such as a spreadsheet that lists each category and the date it was completed. When a colleague joins the project, that record shows exactly where the work stands and saves a round of questions.
On a single product page, the condition appears as a visible label and also as structured information for search engines. It sits near the end of the product details area, and the exact placement can vary between themes, so check how it looks on your own theme before you rely on it.
Shop and category pages do not show the condition unless you enable the option labelled Show on Shop Page. When it is switched on, the label appears after the basic product information and before the add-to-cart button, so it sits right above the action shoppers take next.
Each condition is also output as schema markup on product pages, and that markup appears only on product pages rather than on shop or category pages. Every option belongs to one of four markup categories: new, used, refurbished or damaged. For example, Remanufactured maps to refurbished, while For parts maps to damaged. The condition you choose is therefore described to search engines in a consistent format.
Schema markup uses a shared vocabulary defined on schema.org, and the four categories correspond to the standard item condition values in that vocabulary. What a search engine does with the information is outside the plugin’s control, so treat the markup as clear labelling rather than a guaranteed ranking benefit.
Developers can add or remove entries from the built-in list through the plugin’s filters. The documentation points to a separate developer reference for the details, so check that reference before writing code that depends on a particular filter or behaviour. Keep any custom code in a companion plugin, so that your store’s configuration remains easy to follow for the next person who works on it.
A condition label is only as useful as the standard behind it. Before you assign labels across a catalogue, write down what each condition means in your shop. Decide what separates Very good from Good, and whether a refurbished item must have passed a particular check before it can carry that label. Share the notes with everyone who adds stock, so the labels match from one product to the next.
Review the policy whenever your supply changes. A new supplier, a different grading process or a seasonal clearance may call for a different approach, and it is far easier to adjust a written policy than to correct dozens of labels afterwards.
Shoppers rely on condition labels to decide whether an item suits them, so an inaccurate label can lead to a return, a complaint or a lost customer. Inspect each item before you label it. Where a product has a known defect, choose a condition that describes that defect, and mention the detail in the product description so the label is never the only information a shopper sees.
Some conditions are easier to tell apart than others. Pre-owned and Used describe similar items, and Good and Very good can look almost identical on a product page. Before you choose between neighbouring labels, look at the item in the light a buyer is likely to use, note every mark and point of wear, and compare what you see with the standard you wrote down. If the difference would change a buyer’s decision, pick the more cautious label and explain the detail in the description.
Damaged and For parts are the two options in the damaged group, and they carry a particular responsibility. A shopper who buys an item marked For parts expects it to be incomplete or not working, so the description should list what is missing or faulty. Record each defect in the product description, photograph the item from several angles and make sure the label, the wording and the images tell the same story.
A label means more when a shopper understands it. A short explanation near your product listings, or on a page dedicated to your grading standards, tells visitors what Good means in your shop and how you assess an item. That explanation builds trust, can reduce returns caused by mismatched expectations and gives staff a shared reference when customers ask questions.
Once labels are in place, review them on a schedule. Check for products that still use the default without anyone deciding that the default is right, look for unusual combinations such as a brand-new item marked as damaged, and confirm that discontinued items are no longer offered for sale. A short review each quarter keeps the catalogue honest and makes it clear when your standards need updating.
Stores that sell a mix of new and pre-owned stock benefit most, as do shops that handle refurbished equipment, collectables or spare parts. A store that sells only brand-new goods can still use the plugin, but it will probably find that the store-wide default does nearly all of the work.
Product Condition for WooCommerce turns a vague note about wear into a clear label that shoppers can read at a glance. Set a sensible default, override it where an item differs, and write down the standard behind each label, and your catalogue will stay consistent as it grows.


