

Updates for one year, unlimited sites, auto updates, and regular updates.
$3.99
 BookmarkBookmarked
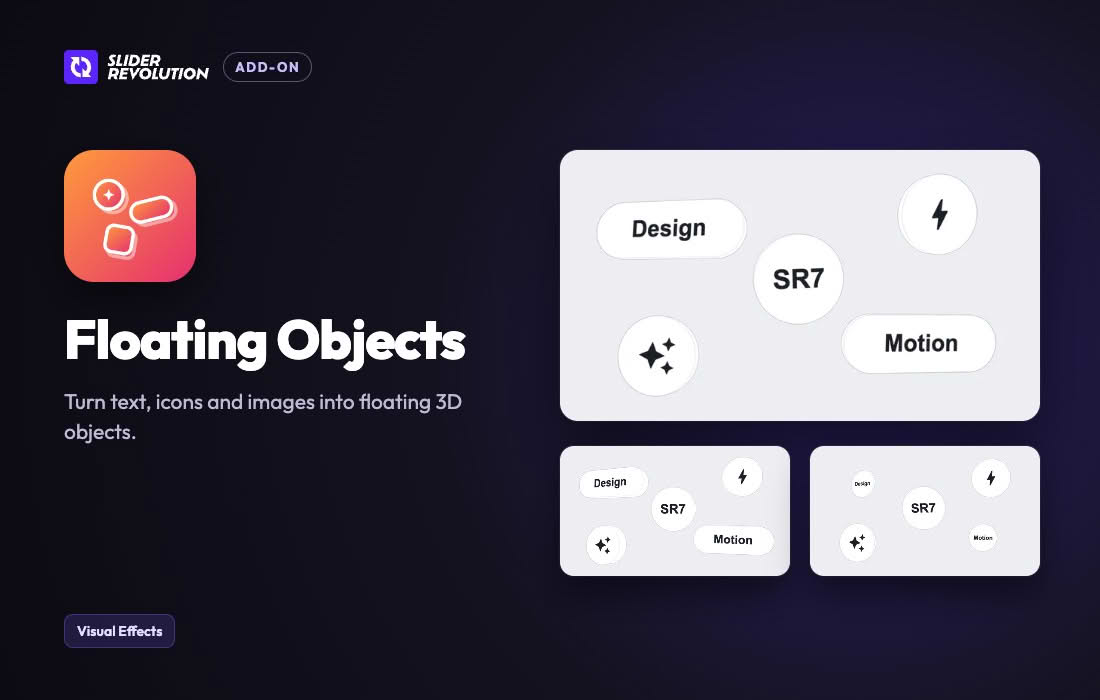
The Slider Revolution Floating Objects Addon is an extension for Slider Revolution, the WordPress plugin for sliders and content modules that ThemePunch created. Addons add capabilities to Slider Revolution, and each one must be installed on the site and then enabled for the modules that will use it. This entry describes how the addon fits into a Slider Revolution site, how it is installed and switched on, how a module is organized in the editor, and what a designer should confirm before publishing a page that relies on it.
Slider Revolution builds content from modules, slides and layers. A module is the container that sits on a page, each slide is a state within that module, and every element placed on a slide is a layer. Text, images, icons and buttons are all layers, and each carries its own position, size, timing and actions. An addon extends this same structure rather than replacing it, so a site owner who understands layers will find it easier to decide where an addon belongs and how it should sit relative to the other content.
The Slider Revolution addon showcase sorts addons into themed groups, including Special effects, Page FX and Animation, so a visitor browsing the catalogue can narrow the list. The visual editor provides more than 200 templates, and Slider Revolution shows which addon a template uses. When a template relies on an addon, creating a module from it installs that addon as part of the same step. Effects that appear in a template can be copied into a module of your own, which makes templates a practical way to study how a particular addon is applied.
The dashboard hosts the addon catalogue under AddOns. Once that dialog opens, choose the icon belonging to the addon you need, which reveals a detail panel on the right. Installation is started with the Install Add-On control in that panel, and the process completes without manual file handling. Activation then follows through the Activate Add-On control. A colored thumbnail confirms the result, because the thumbnail turns from black and white to color once the addon is active.
An installed and activated addon still has to be enabled in each module where it is wanted. Inside the Module Editor, the right-hand sidebar leads to Module General Options, and the Addons entry there opens a window that lists the installed addons. Select the addon, press the Enable Add-On button beside it and close the window. Other modules on the same site are unaffected until they receive the same setting. Once enabled, each addon exposes its own controls, and the Using Addons section of the manual explains how to work with them.
Building a module usually begins in Module Options, which governs the whole module and includes its background color under the layout settings. Per-slide settings, such as a slide background, live in Slide Options. New layers are created from the Add Layer menu, which offers icon and SVG choices as well as buttons. Each layer exposes a Size & Pos area with alignment buttons and numeric controls. The Actions panel decides what happens when a layer is interacted with, asking for an action type, an interaction, a target layer and a destination frame. The timeline editor handles timing, the responsive editor previews the module at different widths, and a Preview option lets the designer see the outcome before publishing.
When the layout is ready, the module can be inserted into a page using its shortcode or the Slider Revolution page builder widget. Buttons can be configured to scroll to an element on the page, to scroll to the area below the slider, or to act as an ordinary link. Each of these choices shapes how a visitor moves from the module to the rest of the content, so they deserve deliberate thought rather than default settings.
An addon is most useful when it supports a clear purpose on the page. Hero areas, announcement bars and section dividers are common places for an animated module, while long article bodies usually benefit from calm, uninterrupted text. Before placing an addon, consider how often a visitor will see the module, whether it competes with a call to action and whether the same message could be delivered without animation. Restricting the addon to a few deliberate locations keeps the site consistent and easier to maintain.
Timing decides how a module unfolds, so it deserves the same care as the visual design. Layers that enter at the same moment can feel crowded, whereas staggered entrances help a visitor follow the message. Use the timeline editor to place each layer in a deliberate order, and keep transitions short enough that the content remains easy to read. A module with clear sequencing is also easier to adjust later, because each change affects a known part of the timeline.
A module that looks balanced on a laptop may crowd or clip on a phone, so the responsive editor should be used to review positions, sizes and text at each width. Keep important messages away from the edges of the frame, and allow room for navigation bars that may overlap the top of the module on smaller devices. Text should remain legible against its background at every size. When the module contains movement, prepare a plainer alternative for visitors who find movement distracting, such as a static opening slide that carries the same message.
Emulators are helpful for early checks, but they cannot fully reproduce the behavior of a real phone or tablet. Once the module works in the editor, open the live page on a range of devices and check that text remains readable, that buttons are easy to tap and that the module does not push important content out of view. Note any differences between browsers as well, since rendering details can vary. Testing on real hardware before publication is one of the most reliable ways to avoid surprises.
Slider Revolution hosts every addon, so it must be installed and active before any addon can function. Confirm which Slider Revolution and WordPress versions the site runs, and look for requirements in the addon’s own documentation. Build the module on a staging copy first, because the active theme, caching plugins and page builders can all influence how a module is displayed. Note the tested versions so that future updates can be compared against a known starting point.
A module that uses the same colors, typefaces and spacing as the rest of the site feels deliberate rather than bolted on. Agree on a small set of values for headings, body text and buttons, and reuse them across modules. When an addon is introduced, match its surrounding elements to those values instead of creating one-off styles, which keeps later maintenance manageable.
Modules that combine graphics and motion should still present their information in text that screen readers and keyboard users can reach. Make sure headings, links and buttons follow a logical order, and confirm that color alone is not used to convey meaning. Where animation is used, offer visitors a calmer version of the content, for example a panel that carries the same information without movement.
Updates to Slider Revolution and its addons should be applied with a fresh backup in hand. The separate Backup addon keeps a version history so earlier states can be recovered, which suits teams that revise modules often. Review important modules after every update, because a change to the plugin or the theme can shift spacing, timing or the appearance of layers. Recording which addons are enabled on each module makes it quicker to diagnose surprises later.
Decide what the module must communicate before opening the editor. List the slides, the layers each slide needs and the moments when a visitor is expected to act. Keep text short, use consistent naming for layers, and note which elements will need an addon. This preparation makes it easier to judge whether an addon genuinely improves the page or simply adds complexity.
The addon is relevant to Slider Revolution users who want additional options inside their modules. Developers who build sites for several clients may appreciate a consistent workflow, provided each module is tested individually. Newcomers should learn the core editor, the module and layer model, and the timeline before adding any addon, since the addon relies on those same foundations.
In short, the addon is an optional extension that works inside Slider Revolution modules. Its usefulness to a site depends on careful placement, deliberate timing and thorough testing, and the steps described above are the same ones a designer should follow for any addon.


