

Updates for lifetime, unlimited sites, unlimited downloads, and regular updates.
$3.99
 BookmarkBookmarked
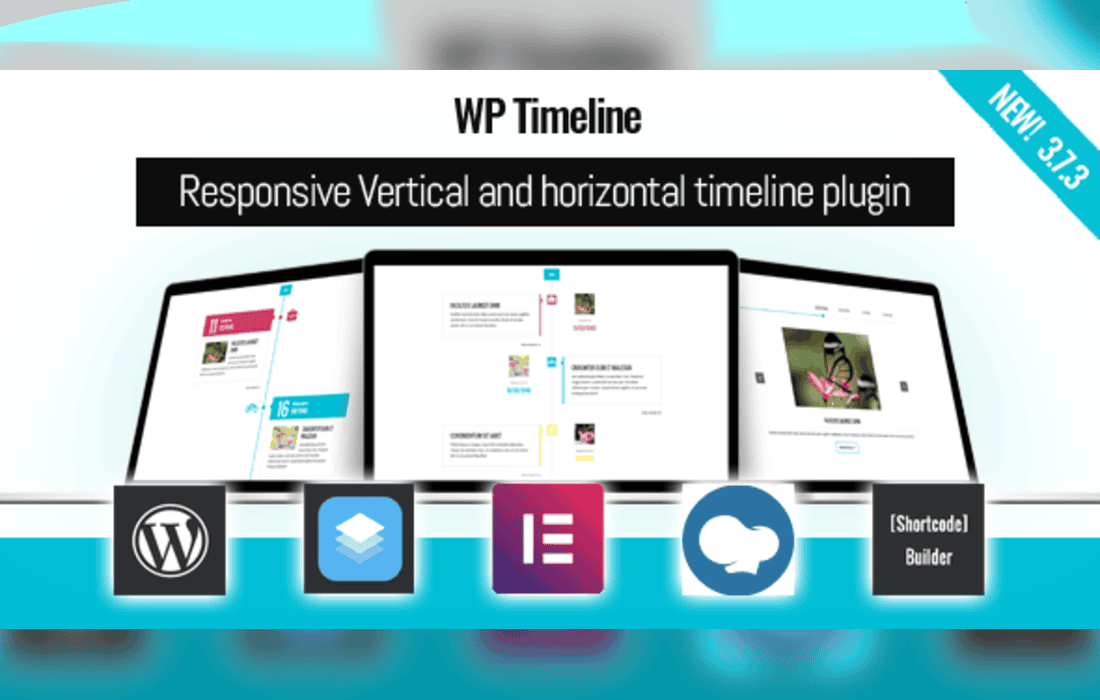
WP Timeline is a vertical and horizontal timeline plugin for WordPress. It turns a list of entries into a visual timeline that can run from top to bottom or from left to right, and it places that timeline on a page or post through a shortcode. Timelines made with the plugin suit company histories, schedules of events, product evolution, roadmaps and personal or career stories, and the core plugin works with entries that the site owner adds directly.
The core plugin builds timelines in two orientations. A vertical timeline runs down the page, and a horizontal timeline runs across it. The layout can be switched between the two with a single click, so the same entries can be shown in whichever orientation suits the surrounding design.
A timeline can be set to begin from one of four edges, which gives control over where the first entry appears. In horizontal mode, the number of entries shown at once can be capped, so a long sequence does not stretch across the page.
Entry titles accept HTML. Bold text and icon markup can therefore be used in a title, which allows a timeline to carry a little more visual character than plain text would allow.
Timelines adjust automatically to different screen sizes, including phones. The developer describes the code as lightweight and tidy, with a small footprint and attention to performance.
Vertical timelines suit long sequences that readers are likely to scroll through, such as a company’s history across several decades or a multi-year roadmap. The sequence runs in the same direction as the page itself, which is a familiar pattern for readers on any device.
Horizontal timelines suit shorter runs of entries, or sequences that benefit from a wide, left-to-right presentation. The item limit described above helps keep a horizontal timeline manageable, because the visitor sees a fixed number of entries at a time rather than a crowded row.
The starting edge determines where the timeline begins. The choice matters most when the timeline sits beside text or images, because the first entry should be the first thing a reader meets. A timeline placed in a narrow column, for example, may read better when it starts from the edge closest to the main content.
It is worth previewing the timeline with each candidate edge before publishing, since the best choice depends on the layout around the timeline rather than on the entries themselves.
Because titles accept HTML, a title can include bold text or simple markup for icons. Keep titles brief, so that each entry remains easy to scan in either orientation. Long titles make entries harder to scan, and that effect is most noticeable in horizontal mode.
Consistent wording across titles helps readers compare entries. A timeline of milestones, for example, reads more clearly when every title names the milestone and the entries are kept similar in length.
The plugin includes a shortcode generator. Once a timeline is built, the generator produces a shortcode that can be pasted into posts, static pages or widget areas. The same shortcode can be used as many times as needed, so one timeline can appear on several pages without being rebuilt.
For theme template files, the plugin’s installation notes show a PHP call to the standard do_shortcode function. That approach allows a timeline to appear in a template rather than in content entered through the editor. Template changes should be tested on a staging copy first, because an error in a template file can affect every page that uses it.
Company history is one of the most common uses. A timeline can show founding dates, office moves, product launches and other milestones in the order in which they happened, which helps visitors understand how an organisation has developed.
Events and conference programmes can be presented as timelines, with each entry representing a session, a speaker slot or a date. Product teams can show how a product has changed over time, and roadmaps can present planned stages in sequence.
Individuals use timelines for career histories, educational achievements, personal milestones and portfolio sequences. Each of these uses relies on the same two layouts and the same shortcode, so one plugin can serve a wide range of sites.
A timeline suits content in which order and spacing carry meaning, such as the sequence of events in a company’s growth or the stages of a project. A plain list suits content where order matters less than completeness, such as a set of features or a directory of contacts. Choosing the right format helps visitors understand the content at a glance, and a timeline works best when each entry adds a distinct step rather than repeating the one before it.
Business websites that need to tell a story over time are a natural fit. Event organisers, schools, training providers, product teams and independent creators can all use the plugin to make a sequence of entries easy to follow. Because the core plugin is driven by manual entries, it suits sites where the sequence is curated rather than generated from a collection of posts.
Timelines sit inside ordinary pages and posts through the shortcode, so they can be placed wherever the surrounding text needs them. That keeps the plugin useful for site owners who prefer to work in the standard WordPress editor.
Install and activate the plugin, then open its timeline screens in the WordPress admin area. Create a new timeline and enter each entry by hand, giving each one a title. Review the entries in the order they should appear, and shorten any titles that run too long.
Choose the orientation and set the starting edge. If the layout is horizontal, decide on an item limit. It is practical to make a first choice and refine it once the timeline is visible on the page.
Generate the shortcode, paste it into the page or post where the timeline should appear, and publish or update the page. Preview the result on a desktop screen, a tablet and a phone, since the timeline adjusts to each size and should be checked at each one.
The core plugin requires timeline entries to be added by hand. It does not generate entries automatically from existing posts, so a site with a large archive will need to add the relevant entries manually, or use a different approach for that content.
The core plugin is used through shortcodes and template code. A timeline appears wherever a shortcode or template call places it, which keeps placement under the control of the site owner.
Before building a timeline, decide what the sequence is meant to show. A timeline of company milestones works best when each entry marks a genuine turning point, while a timeline of events works best when each entry clearly identifies one occasion. Entries that are too similar blur together, so it helps to select only the points that matter to the reader.
Keep entries consistent in tone and length. Mixed lengths make a timeline look uneven, particularly in horizontal mode, where a very long entry can crowd the entries next to it.
Plan the order before entering anything. Chronological order is the most familiar choice for historical timelines, while roadmaps may be better presented in the order that work is expected to happen.
Timelines grow as a story develops, so it is worth scheduling reviews. When a new entry is added, check that it fits the existing order and that its title matches the style of the others. Every page that carries the shortcode should be checked after a change. Old entries that no longer reflect the organisation or the product should be revised or removed rather than left to mislead visitors.
A timeline is only useful if its sequence is clear. Use titles that identify each step on their own, avoid relying on colour or position alone to show order, and check that the reading order makes sense when the page is read without styling.
Test the finished page with a keyboard and, where possible, with a screen reader. Confirm that the timeline stays readable when the browser is zoomed, and that headings elsewhere on the page still give a sensible outline.


